Taking Custom Design to New Levels
PROUD TO BE PART OF THE BRIN FAMILY OF COMPANIES

OTHER BRIN LOCATIONS
Brin Glass Company | Minneapolis, MN
St. Germain’s Glass | Duluth, MN
Heartland Glass | Waite Park, MN

Choosing the right Insulated Terminals starts with the connection, not the color of the sleeve. Identify the wire size, conductor material, expected current, and operating temperature before comparing products. A terminal that fits loosely can heat up or pull free, even when its insulation looks intact. Fit comes first.
Check the terminal’s rated wire range and confirm it matches the actual conductor. Stranded wire can behave differently from solid wire, and fine strands may spread if stripped carelessly. Use a compatible crimping tool, then inspect the finished joint for a firm, even crimp. A quick tug test can reveal a weak connection, but it does not replace the product maker’s installation instructions. Small details matter.
Next, consider the environment. Heat near an engine, moisture inside an enclosure, vibration on machinery, and limited clearance can all affect terminal choice. Review the manufacturer’s specifications for insulation material, temperature limits, and electrical ratings. Do not assume that two terminals with similar shapes perform equally well. Their materials and testing may differ.
Color coding can help identify a wire range, but conventions vary between product lines. Verify the printed data or catalog sheet instead of relying on color alone. Also check that the terminal’s stud or tab size matches the component. A mismatch may force the connection or leave it loose.
This guide explains how to compare these details and select terminals for dependable work. It also points out where product information may be incomplete. In practice, choosing is not always obvious; a careful fit check and a second look at the datasheet are worthwhile.
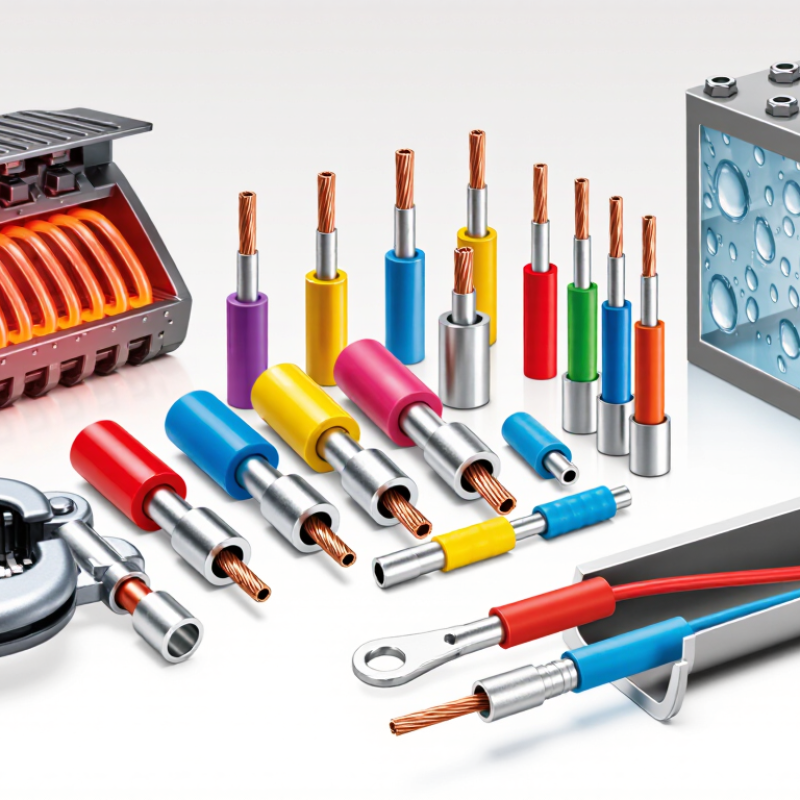
Insulated terminals join a wire to a screw, tab, or another conductor while covering the metal connection with a sleeve. Inside, a conductive barrel grips the stripped wire. The sleeve, often made from plastic or nylon, helps reduce accidental contact and short circuits. It is not magic. Insulation does not automatically make a terminal waterproof or suitable for every temperature.
During installation, the wire is placed into the barrel and compressed with a compatible crimping tool. The crimp reshapes the metal around the strands, creating firm electrical and mechanical contact. A ring terminal, for example, can be secured beneath a screw head; a quick-disconnect terminal slides onto a matching tab. Fit matters. Match the terminal to the wire gauge, connection type, and expected heat and vibration. A barrel that is too large may not grip reliably, while an undersized one can damage strands. Check that no bare copper extends beyond the sleeve, then give the wire a gentle pull. I still treat that check as a useful screen, not proof of a perfect connection; poor tool alignment can hide inside a neat-looking crimp.
| Terminal Type | How It Connects | Common Applications | Advantages | Selection Considerations |
|---|---|---|---|---|
| Ring terminal | A ring-shaped tongue fits over a stud or screw and is secured with a nut or screw. | Grounding points, battery connections, and other bolted electrical joints. | The closed ring is retained by the fastener, making accidental slip-off less likely when properly tightened. | Match the ring size to the stud or screw and select a terminal rated for the wire and application. |
| Fork (spade) terminal | A fork-shaped tongue fits beneath a screw head or nut. | Screw terminals where the connection may need to be removed without fully taking out the fastener. | Can be installed or removed without completely removing the screw in suitable terminal designs. | Check the screw size and tightening requirements. A ring may be preferable where retention against movement is important. |
| Quick-disconnect tab or receptacle | A female receptacle slides onto a compatible flat male tab; some designs use a locking feature. | Appliances, control panels, and equipment designed for push-on connections. | Allows a connection to be made or disconnected without a screw fastener. | Match the tab width and thickness, terminal gender, wire range, and any required locking or retention feature. |
| Butt splice | Two stripped wire ends enter opposite ends of a metal barrel and are crimped. | Joining or repairing two conductors in a wire run. | Creates an in-line wire-to-wire connection without a stud or equipment tab. | Choose the correct wire range and splice type. Use a sealed version where the application requires protection from moisture. |
| Pin terminal | A narrow metal pin is crimped onto the wire and inserted into a compatible clamp or terminal block. | Screw-clamp terminal blocks and equipment terminals designed for pin connections. | Provides a defined end for a stranded wire where a pin-style connection is specified. | Confirm pin dimensions and compatibility with the terminal block; do not assume every clamp accepts a pin terminal. |
| Bullet terminal | A rounded male bullet mates with a matching female socket. | Harnesses and equipment that use separable wire-to-wire connections. | Enables a compact, detachable connection when the mating parts are compatible. | Match the bullet diameter and terminal gender, and check that the connection has suitable retention for the installation. |
How insulated terminals work: A conductive metal barrel is crimped onto a stripped conductor to form the electrical connection. An insulating sleeve covers the barrel area to help reduce accidental contact and short-circuit risk. The sleeve does not replace correct crimping, suitable strain relief, or any required enclosure.
Before choosing: Verify conductor material and wire-size range, mating hardware dimensions, terminal material, crimp-tool compatibility, and the product’s voltage, current, temperature, and environmental ratings. These ratings vary by terminal design; insulation alone does not determine electrical capacity. Follow the equipment instructions and applicable electrical requirements.
Fabricator
Inside Sales and Client Support Manager
Glass Handler – 1st Shift